How to add Digital Signature in Java Applications?

Digital signatures have become a cornerstone of secure, paperless workflows—especially in enterprise-grade Java applications. Whether you’re building financial systems, HR tools, or legal platforms, integrating digital signatures ensures document authenticity, integrity, and compliance with standards like DSC.
In this blog, we’ll walk you through how to add digital signature in Java, covering both the conceptual understanding and practical implementation. From signing PDFs to integrating with a signature API like KAiZEN, this guide is tailored for developers looking to streamline and secure their document processes with Java.
How to integrate eSignature into Java Applications:
Step 1: Define Your Signers and Signing Order
Let’s define the below two users which the order of signing.
Signer Information
| Signer Name | Order | Signer Email |
|---|---|---|
| Signer 1 | 1 | signer1@gmail.com |
| Signer 2 | 2 | signer2@gmail.com |
Step 2: Make an HTTP Call to KAiZEN’s API
Need to make a secure HTTP Callout to call the KAiZEN “Initiate Sign API” request as per the below details:
HTTP Request Parameters
| Parameters Name | Value |
|---|---|
| Content-Type | application/json |
| Method | POST |
| Endpoint | https://fa-kaizen-prod.azurewebsites.net/api/Sign/RequestStr?code=RTa1A0GW5Yl92OF54-73lRqglLFCt_0pVcg86hWf1EjtAzFuNROcdA== |
| Body | JSON Body with parameters |
Important Request Body Parameters
| Parameters Name | Description | Required |
|---|---|---|
| docContent | Base64 Content for the PDF File | Yes |
| docName | Name of the File | Yes |
| appToken | Unique Code to initiate the request | Yes |
| requesterEmail | Email address of the person initiating the request | Yes |
| requesterName | Name of the person initiating the request | Yes |
| description | Describes the document | No |
| signers | An array of the signers who needs to sign the document in the pre-defined order. | Yes |
| CallBackURL | CallbackURL defines the url on which the KAiZEN should send a response once all the signers signs the document. It can be webservice url of Salesforce or any external page. Eg: https://duumy.my.salesforce- sites.com/services/apexrest/KaizenCallbackURL/ |
No |
| newRequestEmailSubject | Describes the email subject | No |
| requesterMessage | Describes the prompt eSignature field | No |
| docDescription | Describes the document | No |
Step 3: Java Code Sample for Integration
Let’s define the below two users which the order of signing.
OkHttpClient client = new OkHttpClient().newBuilder()
.build();
MediaType mediaType = MediaType.parse("application/json");
RequestBody body = RequestBody.create(mediaType, "{\n \"docContent\":\"<
Sample HTTP Response:
								{
“FailRules”: [],
“Data”: {
“SignRequestId”: “01HV6MEARQD3X8ZXXX5FR3YDB8”,
“RequestNo”: “KAiZEN-118”
}
}
Once the request is submitted, it will send a response with the request Id. If the callback url is configured, it will send a signed copy of the document on the defined url, once all the signers will sign and review the document.
Once the request is sent out to the signers, each signer will receive an email to sign the document in the order as defined in the request.
How KAiZEN eSign Works
-
Check Your Inbox
The signer will receive an email from KAiZEN with a prompt to sign the document.

-
Click to Start Signing
Inside the email, click the “Sign here” button. This opens the document in the secure KAiZEN signing editor.

-
Sign the Document
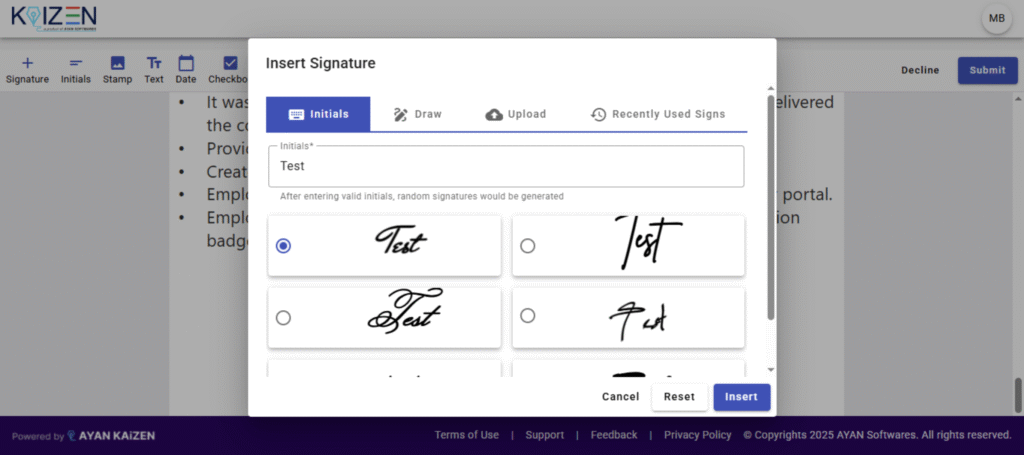
After clicking on the “Sign Here” button. You’ll get a popup where you can choose the following methods to eSign:
- Initials
- Draw your signature
- Upload an image of your signature
- Recently Used Signs

-
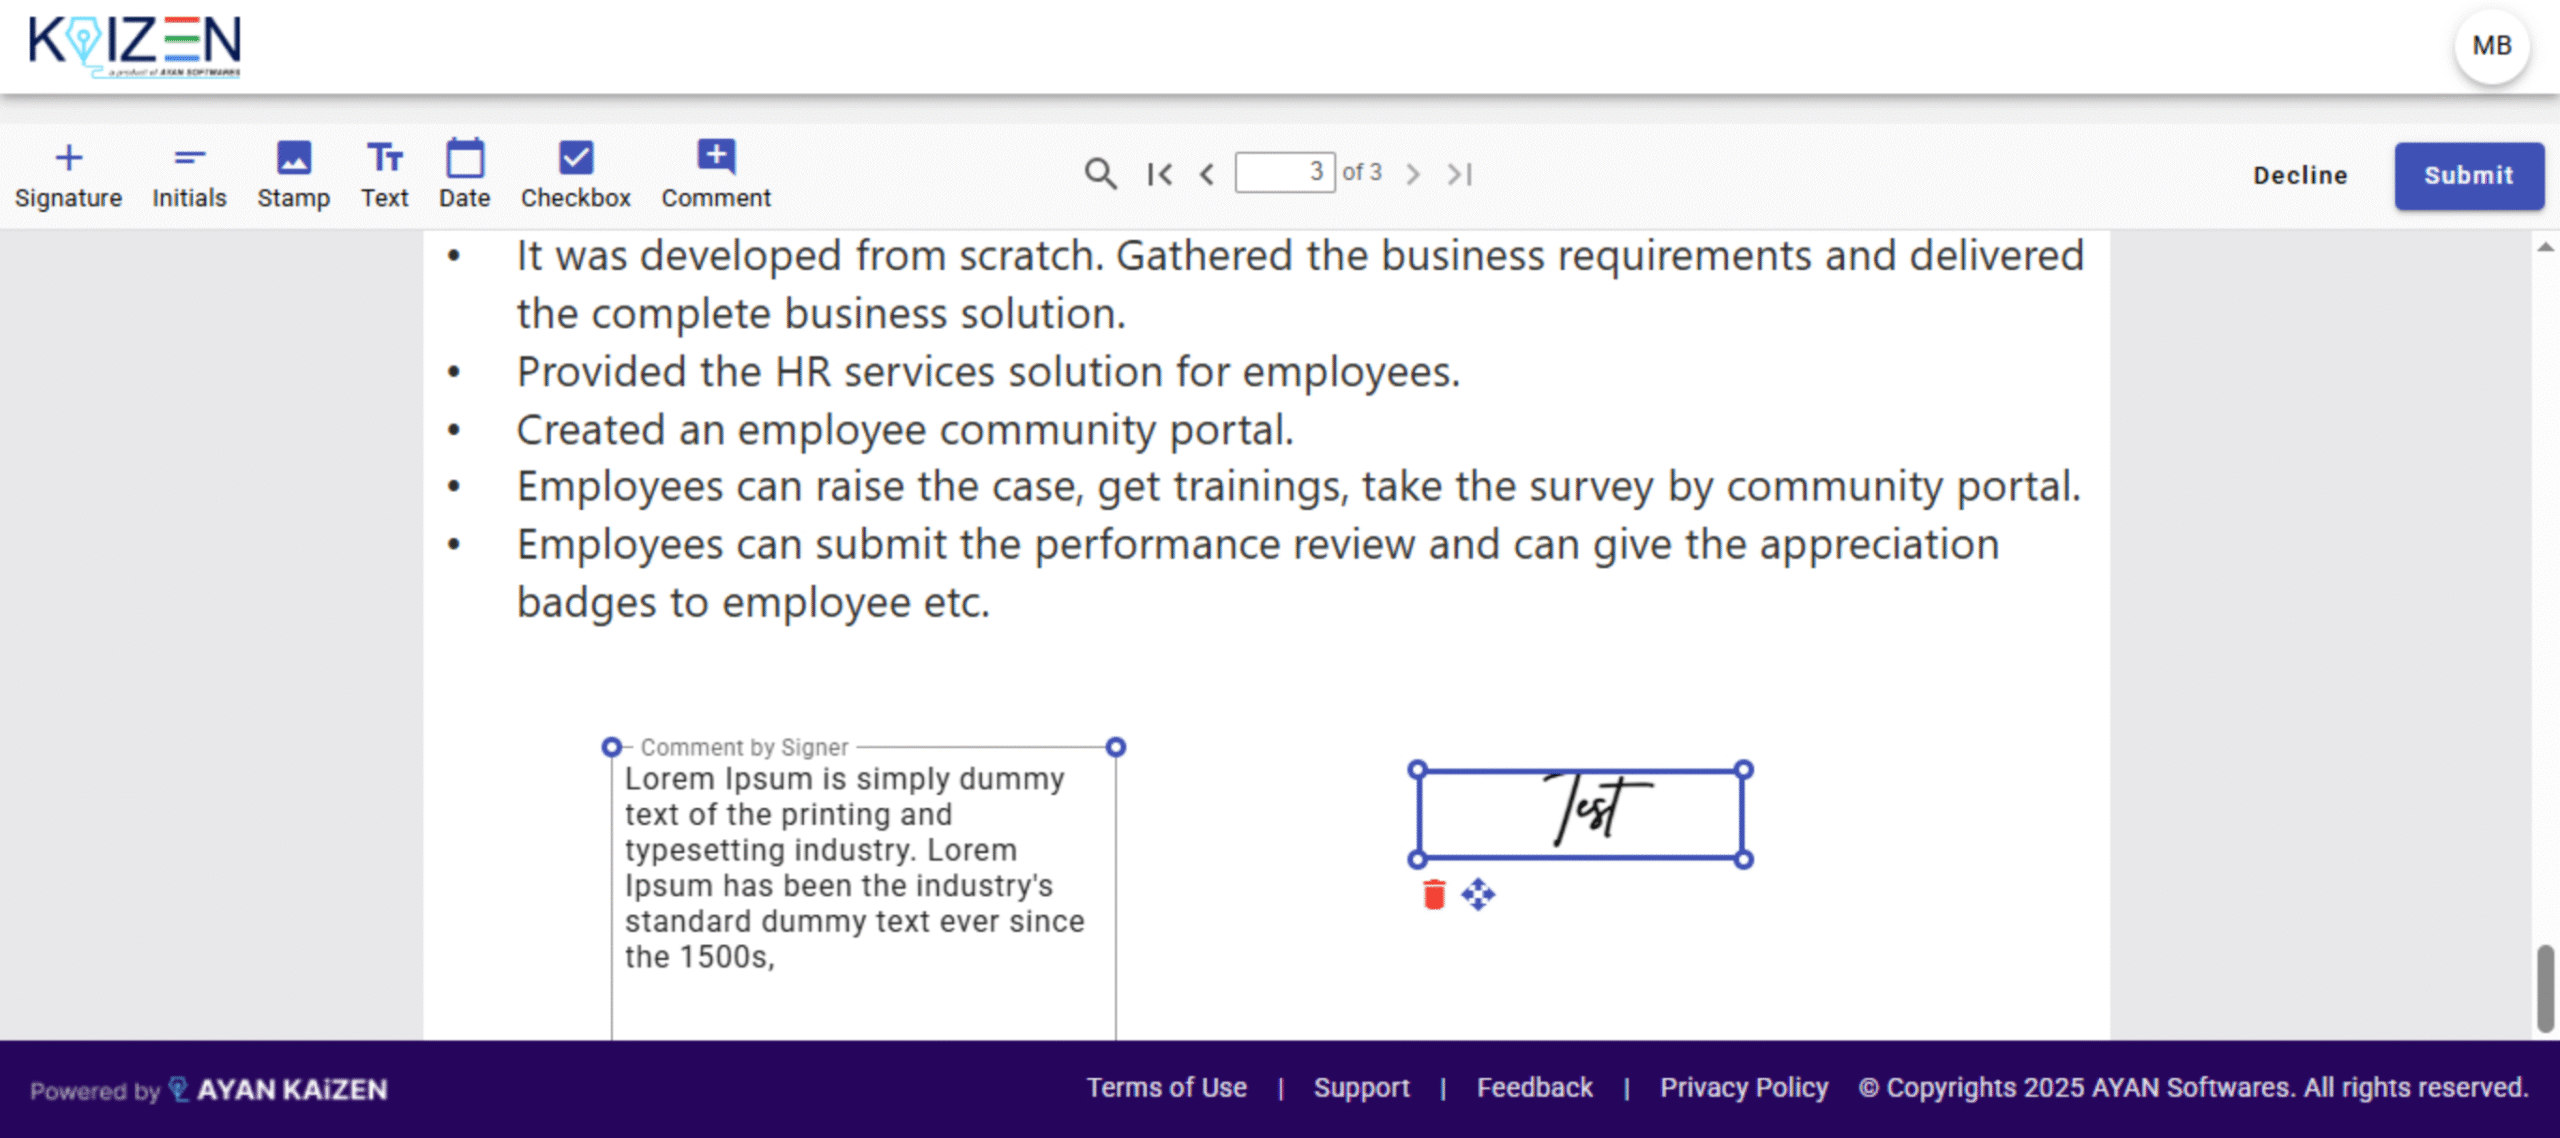
Submit and Done
Once you’ve placed your signature, click Submit. The next signer in the sequence will then be notified.

-
After All Signers Complete
Once every signer has completed the process:
- Each signer will receive an email with the final signed document.
- If a callback URL was configured, a copy of the signed document will be automatically sent to that system (e.g., Java or your application).

Conclusion
Integrating digital signatures into your Java application boosts security, ensures compliance, and streamlines document workflows. With tools like KAiZEN, it’s easier than ever to implement reliable and scalable eSigning features directly into your Java stack.
Sign up for Free
Trial today!
Try KAiZEN for free
Digital signatures have become a cornerstone of secure, paperless workflows—especially in enterprise-grade Java applications. Whether you’re building financial systems, HR tools, or legal platforms, integrating digital signatures ensures document authenticity, integrity, and compliance with standards like DSC.
In this blog, we’ll walk you through how to add digital signature in Java, covering both the conceptual understanding and practical implementation. From signing PDFs to integrating with a signature API like KAiZEN, this guide is tailored for developers looking to streamline and secure their document processes with Java.
How to integrate eSignature into Java Applications:
Step 1: Define Your Signers and Signing Order
Let’s define the below two users which the order of signing.
Signer Information
| Signer Name | Order | Signer Email |
|---|---|---|
| Signer 1 | 1 | signer1@gmail.com |
| Signer 2 | 2 | signer2@gmail.com |
Step 2: Make an HTTP Call to KAiZEN’s API
Need to make a secure HTTP Callout to call the KAiZEN “Initiate Sign API” request as per the below details:
HTTP Request Parameters
| Parameters Name | Value |
|---|---|
| Content-Type | application/json |
| Method | POST |
| Endpoint | https://fa-kaizen-prod.azurewebsites.net/api/Sign/RequestStr?code=RTa1A0GW5Yl92OF54-73lRqglLFCt_0pVcg86hWf1EjtAzFuNROcdA== |
| Body | JSON Body with parameters |
Important Request Body Parameters
| Parameters Name | Description | Required |
|---|---|---|
| docContent | Base64 Content for the PDF File | Yes |
| docName | Name of the File | Yes |
| appToken | Unique Code to initiate the request | Yes |
| requesterEmail | Email address of the person initiating the request | Yes |
| requesterName | Name of the person initiating the request | Yes |
| description | Describes the document | No |
| signers | An array of the signers who needs to sign the document in the pre-defined order. | Yes |
| CallBackURL | CallbackURL defines the url on which the KAiZEN should send a response once all the signers signs the document. It can be webservice url of Salesforce or any external page. Eg: https://duumy.my.salesforce- sites.com/services/apexrest/KaizenCallbackURL/ |
No |
| newRequestEmailSubject | Describes the email subject | No |
| requesterMessage | Describes the prompt eSignature field | No |
| docDescription | Describes the document | No |
Step 3: Java Code Sample for Integration
Let’s define the below two users which the order of signing.
OkHttpClient client = new OkHttpClient().newBuilder()
.build();
MediaType mediaType = MediaType.parse("application/json");
RequestBody body = RequestBody.create(mediaType, "{\n \"docContent\":\"<
Sample HTTP Response:
								{
“FailRules”: [],
“Data”: {
“SignRequestId”: “01HV6MEARQD3X8ZXXX5FR3YDB8”,
“RequestNo”: “KAiZEN-118”
}
}
Once the request is submitted, it will send a response with the request Id. If the callback url is configured, it will send a signed copy of the document on the defined url, once all the signers will sign and review the document.
Once the request is sent out to the signers, each signer will receive an email to sign the document in the order as defined in the request.
How KAiZEN eSign Works
-
Check Your Inbox
The signer will receive an email from KAiZEN with a prompt to sign the document.

-
Click to Start Signing
Inside the email, click the “Sign here” button. This opens the document in the secure KAiZEN signing editor.

-
Sign the Document
After clicking on the “Sign Here” button. You’ll get a popup where you can choose the following methods to eSign:
- Initials
- Draw your signature
- Upload an image of your signature
- Recently Used Signs

-
Submit and Done
Once you’ve placed your signature, click Submit. The next signer in the sequence will then be notified.

-
After All Signers Complete
Once every signer has completed the process:
- Each signer will receive an email with the final signed document.
- If a callback URL was configured, a copy of the signed document will be automatically sent to that system (e.g., Java or your application).

Conclusion
Integrating digital signatures into your Java application boosts security, ensures compliance, and streamlines document workflows. With tools like KAiZEN, it’s easier than ever to implement reliable and scalable eSigning features directly into your Java stack.

